When it comes to maintaining the safety and security of your home or business, having a reliable security camera system is paramount. A functioning surveillance system not only acts as a deterrent to potential intruders but also provides vital evidence should an incident occur. The peace of mind that comes with knowing you’re adequately protected is invaluable. If your blink cameras are not recording, it’s more than a simple inconvenience — a severe concern requiring immediate attention.
Understanding the common issues users often encounter with Blink Cameras not recording can be the first step toward resolving them. Sometimes, these issues may stem from simple causes like a weak Wi-Fi signal or low battery levels. Many users have faced similar problems and, with some troubleshooting, have successfully managed to get their Blink Cameras back to recording smoothly.
This article explores the root causes of Blink camera recording issues, delving into the potential problems and their corresponding solutions. Identifying why your security system may fail to record this will empower you with the knowledge to rectify these issues quickly and effectively.
Why Is My Blink Camera Not Recording? Know The Reasons
Before you delve into the possible solutions, take a moment to identify and understand the underlying reasons behind the issue of Blink cameras not recording. Examining the root causes gives you a clearer perspective on effectively addressing and resolving this problem. Below are some common reasons for this problem:
- Insufficient Battery Power- Low battery levels can significantly affect recording functionality. Bad power can lead to recordings stopping or producing poor audio quality. To avoid these issues, regularly check and charge your battery before recording. Carry spare batteries or a charger to address low-battery problems. These precautions will help maintain uninterrupted recording and ensure audio quality.
- Motion Detection Settings- Incorrect motion detection settings can significantly impact recording. It is crucial to adjust the sensitivity and customize the motion detection zones to ensure accurate detection and avoid unnecessary recordings.
To adjust the sensitivity, you can refer to the following guide:
- Access motion detection settings in your device’s menu or app.
- Look for the sensitivity slider or option.
- Begin with a moderate sensitivity level and test detection accuracy.
- If there are too many false positives (recordings triggered by non-important movements), decrease sensitivity.
- If there are missed recordings (important activities not detected), increase sensitivity.
Customizing motion detection zones allows you to focus on specific areas for recording. Here’s a guide to customize motion detection zones:
- Access motion detection settings in your device’s menu or app.
- Look for an option to define or draw zones.
- Select areas where you want the device to detect motion.
- Adjust zone boundaries to include or exclude specific areas.
- Test customized zones for accurate detection.
Adjusting sensitivity and customizing motion detection zones can optimize your recording experience and minimize unnecessary recordings.
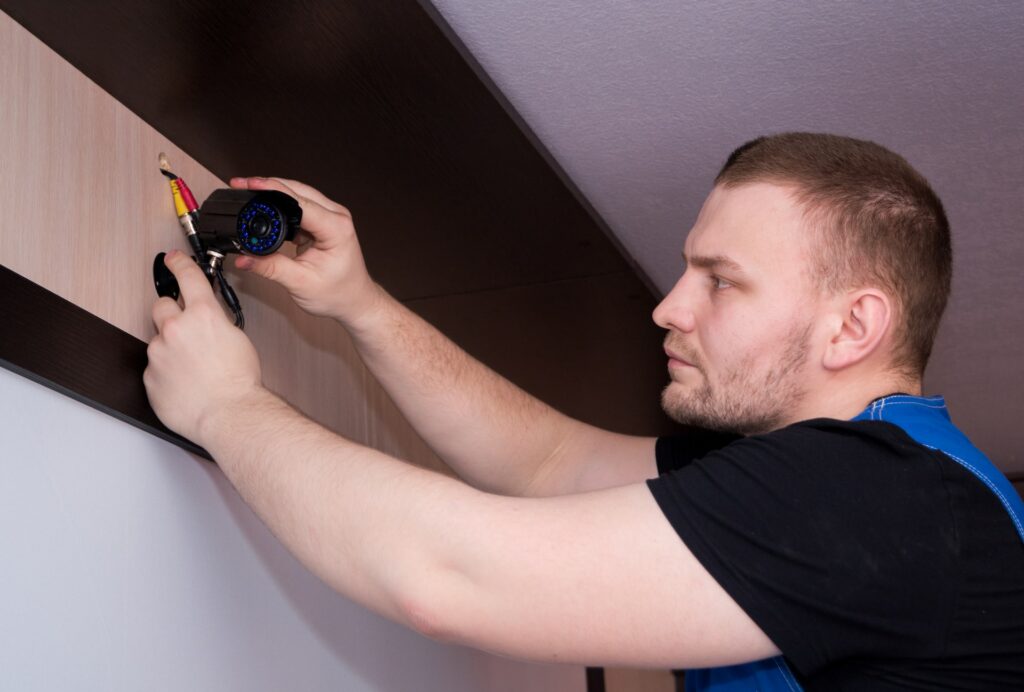
- Camera Placement- Improper camera placement can result in missed recordings, compromising the effectiveness of your surveillance system. Here are some tips for optimizing camera positioning to ensure better coverage:
- Identify critical areas: Determine key surveillance coverage areas such as entrances, high-traffic zones, or valuable assets.
- Avoid blind spots: Ensure no obstructions obstruct the camera’s view. Eliminate potential blind spots that hinder necessary footage capture.
- Consider the field of view: Understand the camera’s field of view and adjust placement accordingly. Maximize coverage while minimizing unnecessary overlap.
- Height and angle: Mount the camera appropriately to capture the desired view without distortion or glare.
- Lighting conditions: Consider lighting where the camera is placed. Ensure adequate lighting or use cameras with built-in night vision for round-the-clock surveillance.
By following these tips and ensuring proper camera placement, you can minimize the risk of missed recordings and enhance the overall effectiveness of your surveillance system.
- Sync Module Connectivity- Issues with your Blink Camera’s Sync Module can heavily impact your camera’s ability to record. The Sync Module is the heart of your Blink system and facilitates communication between your Blink cameras and the Blink app on your phone. If the Sync Module is not connected or adequately functioning, your cameras may not record as they should.
Troubleshooting Sync Module connectivity problems involves a few systematic steps:
- Check Internet Connection: Ensure your Sync Module is connected. Look at the lights on the Sync Module. If the light isn’t green, it’s not connected. Troubleshoot your internet connection if needed, such as resetting your router or checking for outages with your internet service provider.
- Reboot Sync Module: A simple reboot can solve connectivity issues. Unplug the Sync Module, wait 30 seconds, and plug it back in.
- Ensure Close Proximity: The Sync Module should be near your cameras and Wi-Fi router. If it’s too far, it may not maintain a reliable connection. Try moving closer for better connectivity.
- Update Firmware: Make sure your Sync Module’s firmware is up to date. Check for updates in the Blink app’s settings. Apply any available updates to prevent connectivity and performance issues.
- Reset Sync Module: As a last resort, reset your Sync Module to factory settings. This removes all settings and configurations, so be prepared to set it up again from scratch.
Following these steps, you can quickly assess and fix any connectivity problems with your Blink Camera’s Sync Module, ensuring your security cameras record as expected.
- Network Connectivity- Issues with network connectivity can significantly affect your Blink cameras’ ability to record. If your Wi-Fi connection is weak or unstable, your cameras may be unable to transmit data effectively, leading to interruptions or complete stoppages in recording. This can also result in poor video quality, with videos appearing pixelated or laggy.
To optimize network connectivity for your Blink cameras, follow these steps:
- Check Wi-Fi Signal Strength: Ensure your cameras are within range of your Wi-Fi router. The Wi-Fi signal may need to be stronger if they’re too far or obstructed. You can check signal strength in the Blink app.
- Optimize Wi-Fi Settings: Confirm that your Wi-Fi is set to the 2.4GHz band, which Blink cameras use. If you have a dual-band router, ensure the cameras are connected to the 2.4GHz band.
- Close Unnecessary Applications: If your network is congested with too many devices or bandwidth-intensive applications, it can slow down your Wi-Fi. Try closing unnecessary apps or disconnecting devices to improve camera recording.
- Upgrade Your Internet Plan: Consider upgrading your Internet plan if you consistently experience slow speeds. Faster internet can enhance camera performance.
- Reset Your Router: If you still have connectivity issues, try resetting your router. Turning it off for a minute and then back on can resolve network problems.
By troubleshooting your network, you can ensure Blink cameras maintain a consistent and effective recording schedule, contributing to security and peace of mind.
- Camera Firmware Updates- Outdated firmware can cause recording issues in Blink cameras. Firmware is the built-in software that controls your camera’s functionality. If the firmware is outdated, it may not be compatible with the latest updates or features, leading to recording malfunctions. Regular firmware updates fix bugs, introduce new features, and improve camera performance.
To check and update your Blink camera’s firmware, follow these steps:
- Open the Blink app and tap the settings icon.
- Go to “Device Settings” and select the camera you want to update.
- Scroll down to the “Device Info” section.
- The “Firmware” field displays the current firmware version. To check for updates, compare this number with the latest version on the Blink website or in the app updates.
- A button or message will prompt you to update the firmware if an update is available.
- Tap the update button and wait. Your camera may restart several times during the update and won’t record during this process. Make sure the camera remains plugged in and undisturbed to avoid complications.
- Cloud Storage Subscription- A full or expired cloud storage subscription can impact your Blink cameras’ recording capabilities. When the storage is whole, new footage can’t be uploaded, and cameras may stop recording. Similarly, when a subscription expires and is not renewed, the warehouse becomes inaccessible, ceasing recording. Regularly checking storage and subscription status can prevent these issues.
Here’s how to check your cloud storage subscription and renew it if necessary:
- Open the Blink app and tap on the settings icon.
- Choose ‘Manage Account’ and then ‘Subscription Plans.’
- Here, you can view your current subscription status and available storage space.
- If your subscription has expired or is about to pass, click ‘Renew Subscription.’
- Follow the prompts to complete the renewal process, then check if the cameras have resumed recording.
- Camera Malfunction or Damage- Physical damage or technical malfunctions in your Blink camera can impact its recording ability. Exposure to harsh weather, drops, tampering, manufacturing defects, or software glitches can all affect performance.
To troubleshoot, first, perform a visual inspection of the camera. Look for any visible signs of damage like cracks, corrosion, or wear and tear. If you don’t notice anything unusual, you can try resetting the camera to its default settings. This can often clear any software glitches that may be causing the issue.
If the problem persists after the reset or if you notice physical damage, it’s best to contact Blink Support. They can provide further troubleshooting help and, if necessary, guide you through sending the camera in for repair or replacement.
How to Fix Blink Camera Not Recording
Now that you know what causes a Blink camera to stop recording, discover the solutions. Below are some troubleshooting tips to help fix your Blink camera problem:
- Check Battery Levels- Ensure the battery is adequately charged or replace it if needed. To check and replace the batteries in your Blink camera, follow these simple steps:
- Open the Blink app on your mobile device.
- Tap on the settings icon.
- Go to ‘Device Settings’ and select the camera to check its battery level.
- Look for the ‘Battery’ section to see the current status.
- Replace batteries if the level is low. Here’s how:
- Carefully open the battery compartment.
- Remove old batteries and dispose of them properly.
- Insert new batteries with the correct orientation.
- Close and secure the battery compartment.
Adjust recording length, retrigger time, and infrared settings to optimize battery usage. Reducing recording length and increasing retrigger time can help save power. Also, turn off infrared when not needed to conserve battery life.
- Adjust Motion Detection Settings- As discussed earlier, incorrect motion detection settings can cause recordings to stop. To access and adjust motion detection settings, follow these steps:
- Open the Blink app on your device.
- Tap on the settings icon.
- Navigate to ‘Device Settings’ and select the camera you want to adjust.
- Look for ‘Motion Sensitivity.’ Here, you’ll find a slider that allows you to adjust the sensitivity level of the motion detection feature.
When determining the ideal sensitivity level, consider the camera’s environment. For instance, if it overlooks a busy street, reduce sensitivity to avoid constant activation by passing cars or pedestrians. Conversely, a higher sensitivity level may be needed in quiet areas like backyards or rooms to detect subtle movements. Balancing these factors will help you find the optimal sensitivity level, ensuring reliable camera triggers without draining battery life with false alarms.
- Optimize Camera Placement- It is crucial to ensure comprehensive coverage and minimal blind spots. To do so, follow these brief steps:
- Assess the area: Identify key surveillance areas like entry and exit points, windows, driveways, or specific rooms.
- Test different locations: Experiment with mounting positions to find the most effective coverage with minimal obstruction.
- Check the field of view: Maximize camera coverage for crucial areas. Use the Blink app’s Live View feature to adjust in real time.
- Consider height: Mount the camera appropriately to avoid tampering and capture clear facial images.
- Consider lighting conditions: Protect the camera from direct sunlight to prevent glare or overexposure.
- Sync Module Troubleshooting- If you’re experiencing issues with multiple cameras, it may be due to a malfunctioning Sync Module. Follow these steps to troubleshoot your Sync Module:
- Check Internet Connection: A stable connection is vital; ensure the Sync Module is connected. If the light is not green, it could indicate a problem with your internet.
- Reboot: Try a simple reboot of the Sync Module by unplugging and replugging after 30 seconds.
- Check Proximity: Ensure the Sync Module is within range of your Wi-Fi router and the cameras.
- Update Firmware: Keeping your firmware up-to-date is crucial; check for updates in the Blink app.
- Factory Reset: If everything fails, consider a factory reset, erasing all settings and configurations.
For a stable connection, bear in mind the following information:
- Keep Devices Close: Ensure all devices are within range for optimal performance.
- Monitor Bandwidth Usage: Avoid overloading your Wi-Fi with too many devices or applications.
- Regular Updates: Routinely updating your devices can help maintain the efficiency of the network.
- Consider a Wi-Fi Extender: If necessary, a Wi-Fi Extender can enhance the range and quality of your connection.
- Network Troubleshooting- Assessing and improving your Wi-Fi and network connectivity is critical to optimizing your Blink camera’s performance. Follow these steps:
- Check Wi-Fi Signal: Assess signal strength; weak signals may disrupt camera functionality. Use the Blink app to check your Wi-Fi signal.
- Distance Matters: Ensure cameras are just a short distance from the router. Distance and obstructions can weaken Wi-Fi signals.
- Right Band: Blink cameras use the 2.4GHz band. Confirm camera connection to this band if using a dual-band router.
- Reduce Network Load: Disconnect unused devices or close bandwidth-heavy apps to relieve network congestion and enhance speed.
- Router Reset: A simple router reboot can resolve connectivity issues. Please turn off your router, wait a minute, then turn it back on.
- Upgrade Internet Plan: Consider an internet plan upgrade for consistent slow speeds for better performance.
To boost network performance, invest in a mesh network system. It uses multiple Wi-Fi nodes to create a reliable, robust network for large homes or buildings. This ensures Blink cameras stay connected and operational, even far from the primary router, for seamless coverage and enhanced performance.
- Firmware Update Process – Ensure your Blink camera has the latest updates. Check your Blink app’s notifications and set your camera to update automatically.
To check and update your Blink camera’s firmware, follow these steps:
- Launch the Blink app and tap on the settings icon.
- Navigate to “Device Settings” and select the camera to update.
- Scroll to the “Device Info” section for the current firmware version.
- If an update is available, tap the update button and wait patiently while your camera updates.
Remember, keeping firmware up-to-date is essential for optimal camera performance and reliability, ensuring your Blink surveillance system functions at its best.
- Cloud Storage Check and Renewal – Check that your Blink camera’s cloud storage subscription is current and renew if necessary.
To swiftly check your cloud storage subscription status:
- Launch the Blink app.
- Tap on settings.
- Select ‘Manage Account’, then ‘Subscription Plans.’
To renew or upgrade your subscription:
- In ‘Subscription Plans’, view your subscription status.
- If expired or nearly so, tap ‘Renew Subscription.’
- Follow the prompts to complete the process.
- Camera Inspection and Support Contact – If all else fails, inspect your Blink camera for any visible damage and contact Blink’s technical support.
To inspect your Blink camera for malfunctions or damage, follow these quick steps:
- Disconnect the camera from any power source.
- Carefully examine the camera for visible signs of damage like cracks, discoloration, or water leaks.
- Check the lens for dust or scratches that might affect the image quality.
- Reconnect the camera and monitor its performance for a while.
If you’ve inspected your camera and are still experiencing issues, it’s time to contact Blink customer support for further assistance. Here’s how:
- Visit the Blink Support website (https://support.blinkforhome.com/).
- Click on ‘Contact Support’ on the homepage.
- Fill in the provided form with details and briefly describe your issue.
- Click ‘Submit’ and a Blink representative will be in touch shortly.
Alternatively, you can reach Blink Support directly by phone at 781-332-5465, available Monday-Friday, 12 pm-8 pm EST, or via email at support@blinkforhome.com.
Conclusion
Dealing with Blink cameras not recording can be daunting, but with this comprehensive guide, you can troubleshoot and resolve these issues. Prioritizing regular maintenance and addressing recording malfunctions are vital in ensuring your home security system’s reliability and functionality. Remember, the effectiveness of your security is directly linked to its ability to record accurately and consistently.